Usage: LabManager administrator
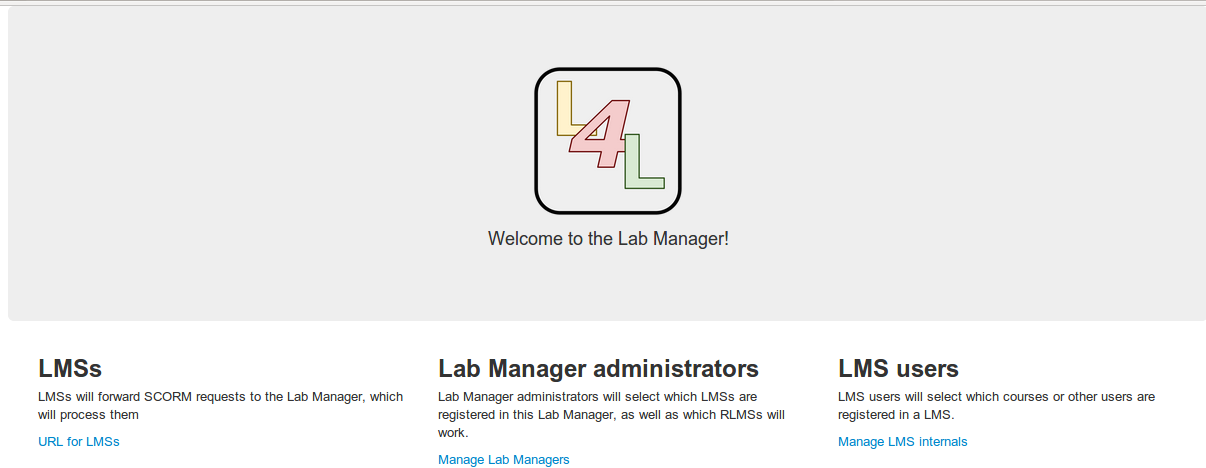
The LabManager administrator can do three different things: administrating which remote laboratories are available from it, administrating which LMSs can access it, and assigning remote laboratories to each LMS.
So as to enter in the LabManager, click on the link in the middle in the front page:
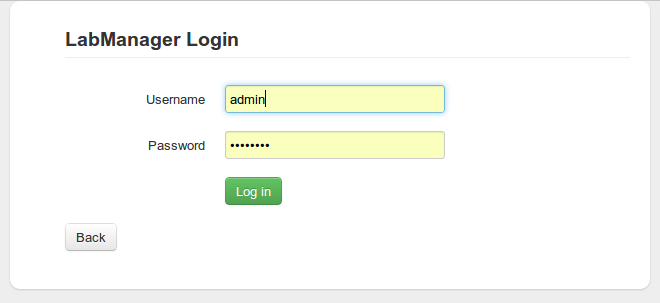
And then log in as a LabManager administrator (default credentials: admin as username and password as password).
RLMS Administration
In the LabManager, you will configure the connection of the LabManager with the different RLMSs. In the following example, three RLMSs have been deployed: one WebLab-Deusto, one FCEIA-UNR and one MIT iLabs (support under development).
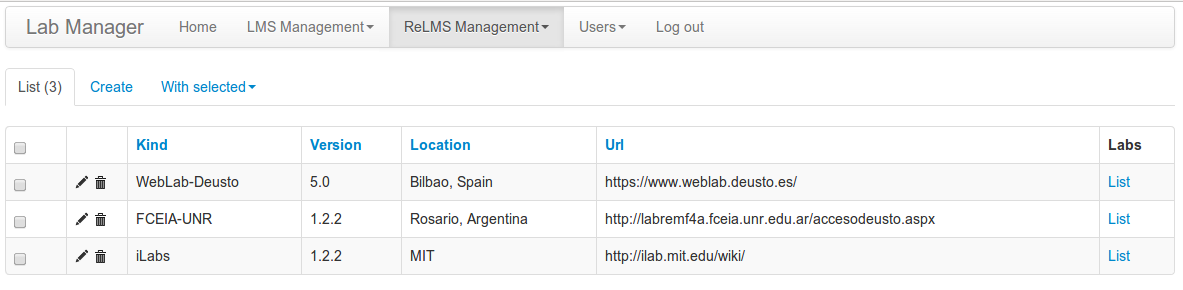
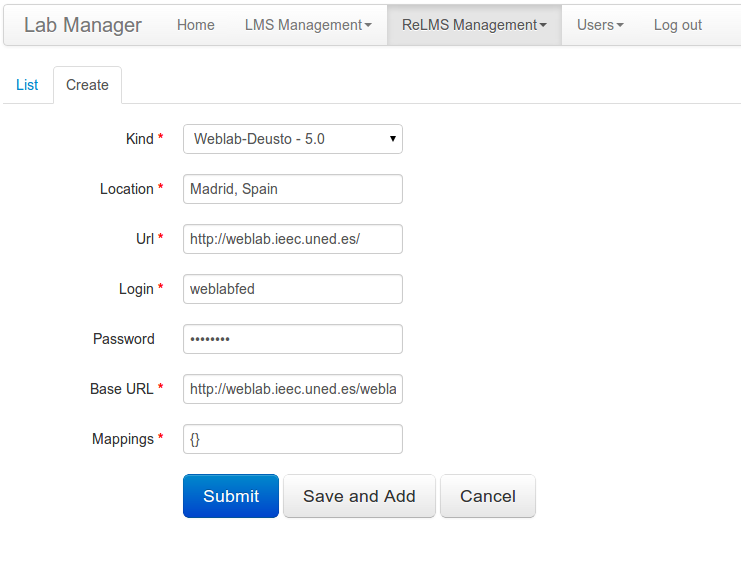
You may add more. For example, if you deploy a new WebLab-Deusto instance in your institution (or you have created one hosted in Deusto by the wCloud system), you may add it. So as to do this, complete the following form by clicking on Create:
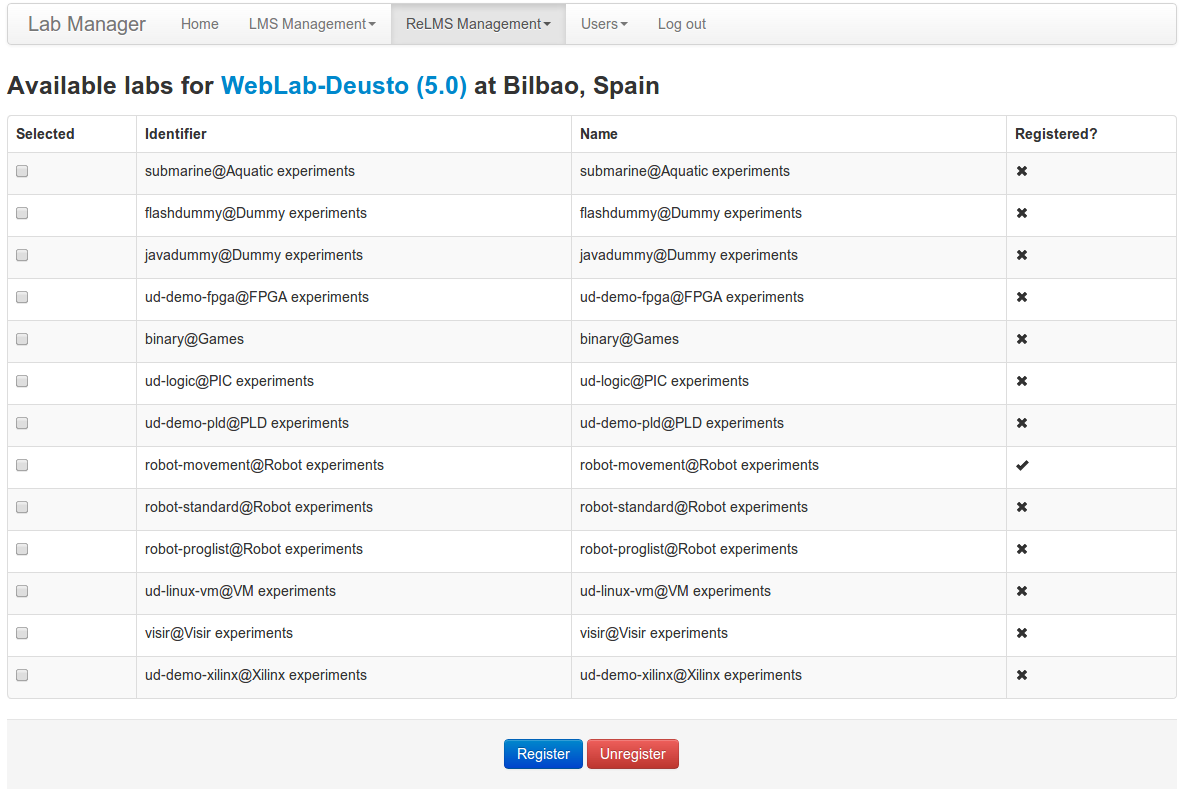
Once you’ve done this, you may want to register some laboratories. So as to do
this, in the list of RLMSs click on list. You will see the following screen,
listing the laboratories available in that RLMS and which ones are registered in
the LabManager. You will be able to grant permission to LMS/CMS/PLEs only on
those registered laboratories. So select the ones you want to use, and click on
the register button.
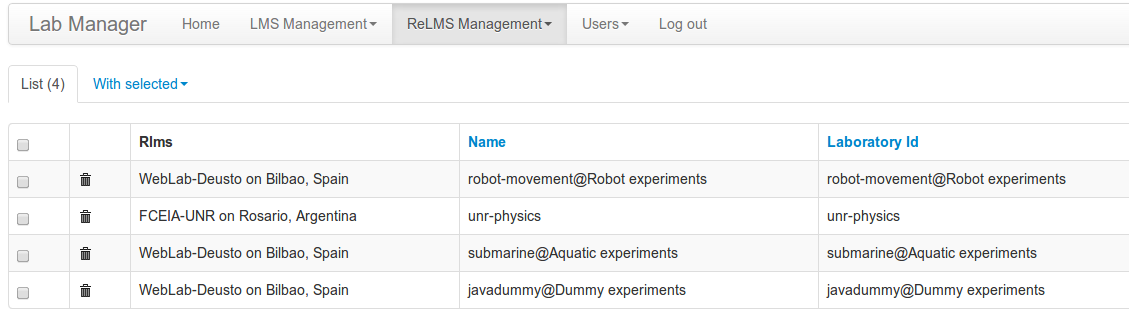
From this point, you will be able to see (or remove) the registered labs in the proper panel:
LMS Administration
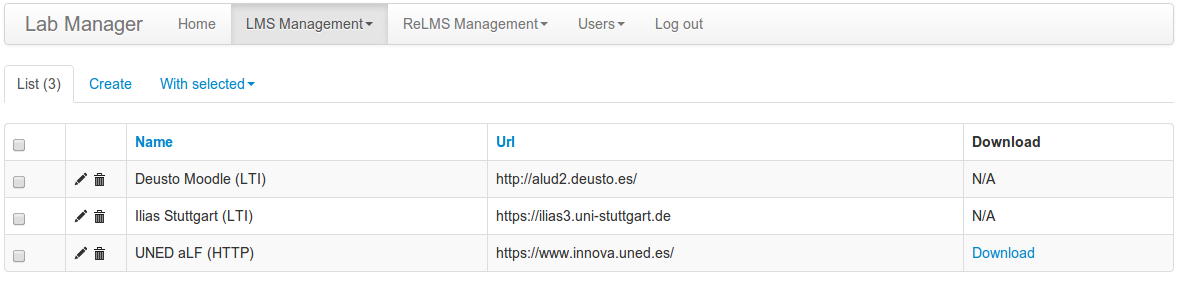
The LabManager administrator can also add LMSs/CMSs/PLEs so they can use this LabManager. The LabManager distinguishes among two types of LMSs/CMSs/PLEs: those supporting IMS LTI and those who do not support it. If IMS LTI is supported, this approach highly recommended. The rest will require a plug-in to be installed in the LMS/CMS/PLE.
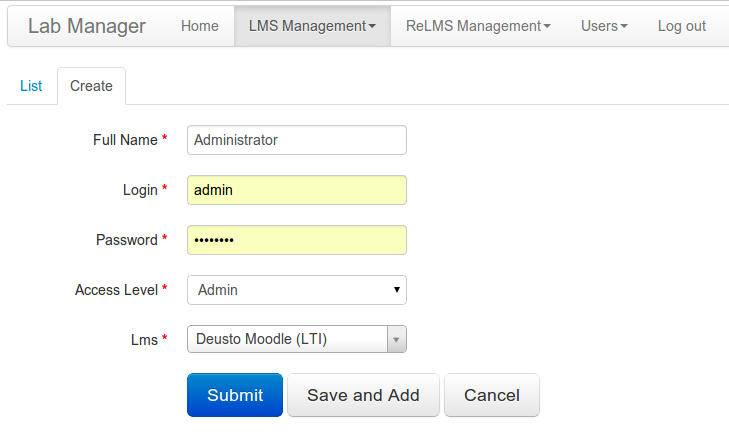
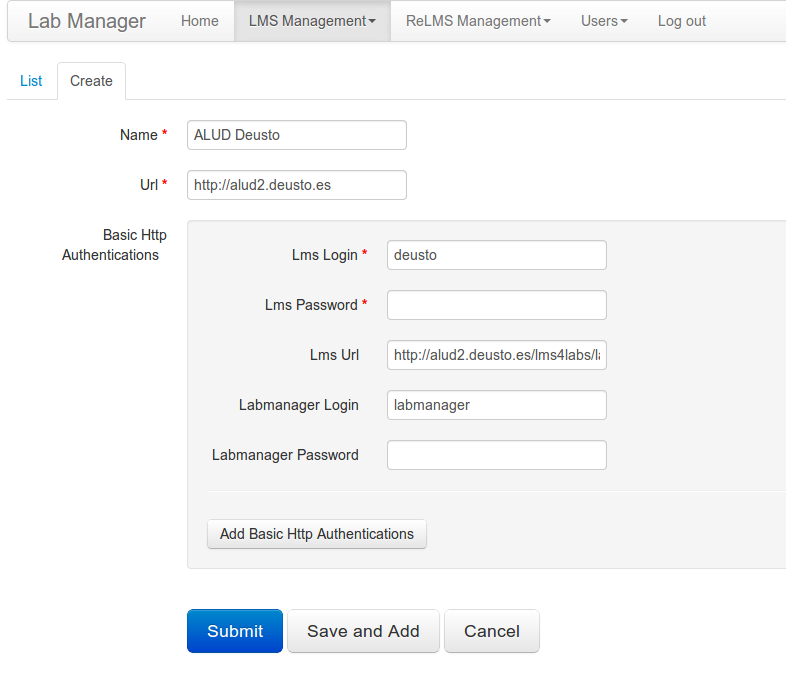
So as to add a LMS, you have to go to the LMS management side and create a new LMS. When creating it, in the case of using the Basic HTTP approach (as opposed to the IMS LTI approach), you will need to add credentials. These include: LMS login (the username that the LMS will use in the LabManager), LMS password (the password used by the LMS in the LabManager), the LMS URL (pointing to the gateway4labs/list method), and the username and password of the LabManager in the LMS. The URL will be a URL pointing to the listing service. For instance, in Moodle, it will point to something like:
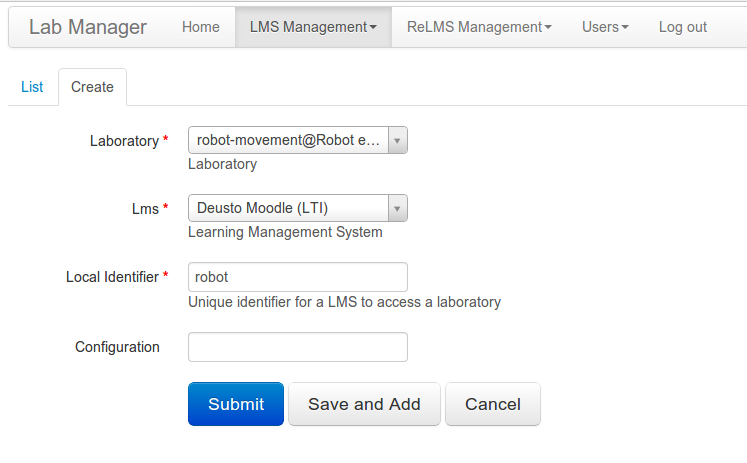
After this, you can configure which permissions this LMS will have. For example, you may configure that it only has permission to a subset of the laboratories. When adding these permissions, you will define a unique identifier for that laboratory in that LMS/CMS/PLE.
Finally, the LabManager can create different LMS users, identifying who is administrating each LMS. From this point, you can contact the LMS administrator and give them these credentials.